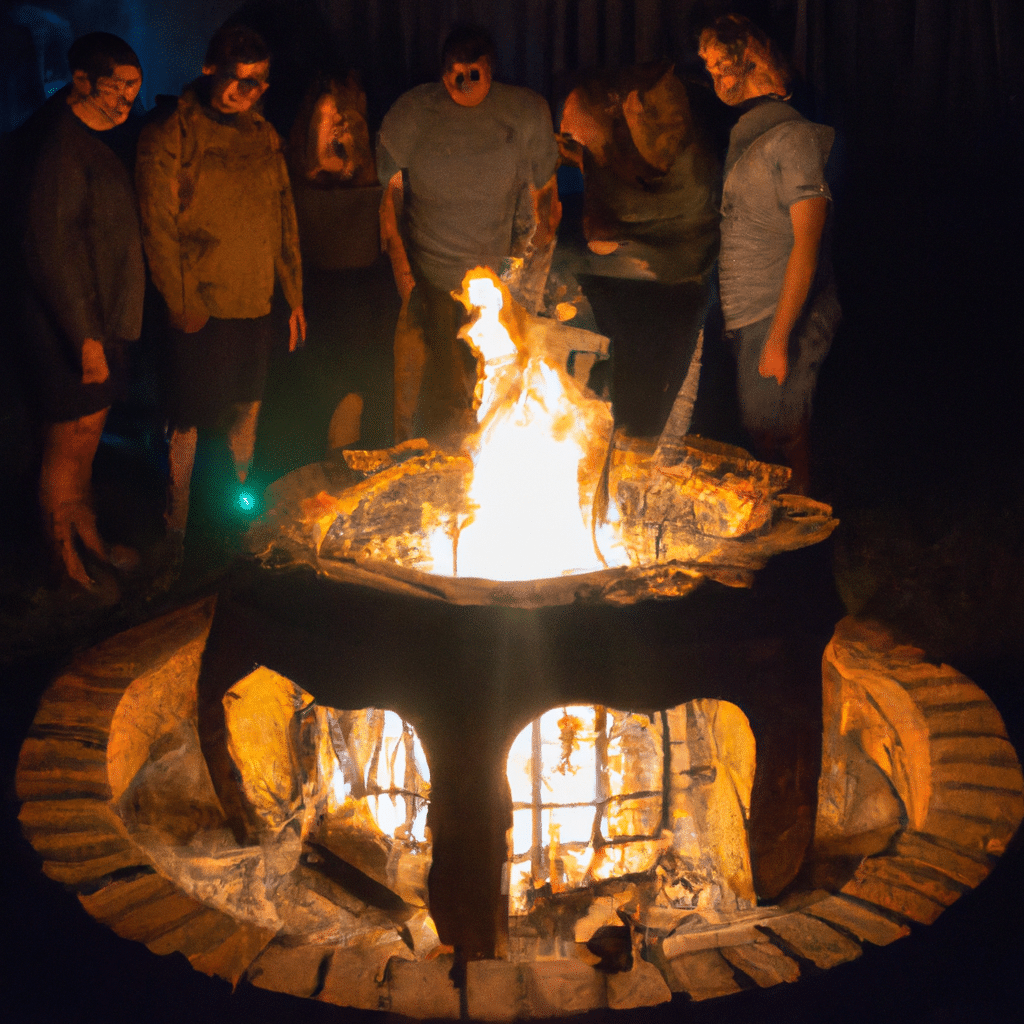
ummer is the perfect time to enjoy the outdoors, and what better way to do so than by gathering around a cozy fire pit with family and friends? Building a fire pit may seem like a daunting task, but with a little bit of planning and some basic DIY skills, it’s a project that anyone can tackle. In this guide, we’ll show you how to build your own backyard fire pit in just a few simple steps.

Step 1: Choose Your Location
The first step in building a fire pit is choosing the perfect location. You’ll want to select a spot that is far away from any trees or overhanging branches, and that is not located near any flammable materials, such as dry grass or leaves. Additionally, you’ll want to make sure that the location is level and well-drained.
Step 2: Gather Your Materials
Once you’ve selected your location, it’s time to gather your materials. You’ll need the following:
- Bricks or pavers
- Sand or gravel
- Fire bricks
- Landscape fabric
- Shovel
- Level
- Tamper
- Tape measure
- String
- Stakes
Step 3: Prepare the Site
Now that you have your materials, it’s time to prepare the site. Start by using the stakes and string to mark out the area where you want to build your fire pit. Then, remove any grass or sod from the area using a shovel. Next, use the tamper to compact the soil and create a level base for your fire pit.
Step 4: Lay the Base
Once you have a level base, it’s time to lay the base of your fire pit. Start by laying down a layer of sand or gravel, then use a level to ensure that it is even. Next, add a layer of landscape fabric to prevent weeds from growing up through your fire pit.
Step 5: Build the Walls
Now it’s time to start building the walls of your fire pit. Begin by stacking your bricks or pavers in a circle, making sure that they are level and even. As you stack the bricks, be sure to leave gaps between them to allow for air flow. Once you have your first layer in place, add a second layer of bricks, staggering them so that the joints do not line up with the first layer.
Step 6: Add the Fire Bricks
Once you have your walls in place, it’s time to add the fire bricks. Fire bricks are designed to withstand the high temperatures generated by a fire, so they are essential for any fire pit. Place the fire bricks on top of the first layer of bricks, making sure that they are snugly in place.
Step 7: Finish the Pit
To finish your fire pit, add another layer of bricks or pavers on top of the fire bricks. This will create a ledge around the top of the fire pit where you can place drinks or snacks. Finally, fill the bottom of the fire pit with sand or gravel to create a level base for your fire.
Conclusion
Building your own backyard fire pit is a fun and rewarding project that can be completed in just a few hours. With the right materials and a little bit of planning, you can create a cozy gathering spot for summer nights with family and friends. By following the steps outlined in this guide, you’ll be well on your way to building a fire pit that will not only look great but will also be safe and functional for years to come.

